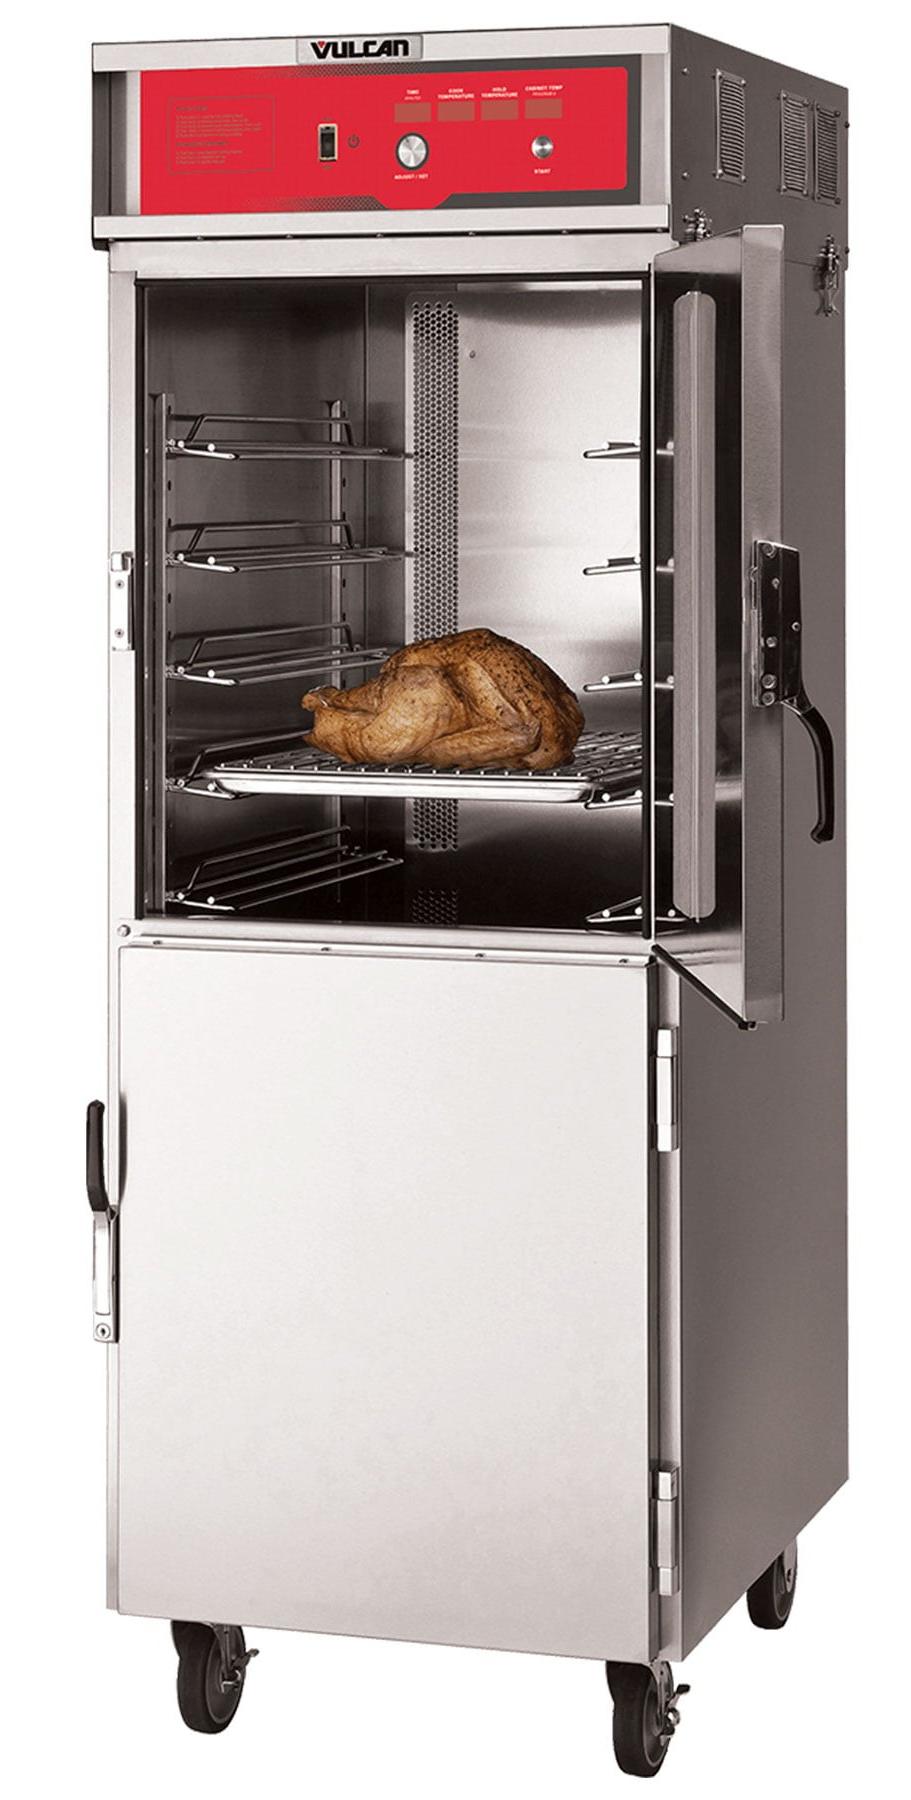
How to maintain your Vulcan Oven

Vulcan ovens are built to last and are a cornerstone in many commercial kitchens. However, just like any other heavy-duty equipment, they require regular care to ensure they continue to perform efficiently and reliably. Proper maintenance not only enhances the oven’s lifespan but also improves energy efficiency, reduces repair costs, and ensures consistent cooking performance. In this blog post, we’ll cover the essential maintenance tips to help you maximize the lifespan of your Vulcan oven.
Maximizing the Lifespan of Your Vulcan Oven
Keeping the interior of your Vulcan oven clean is one of the most effective ways to extend its lifespan and ensure it operates efficiently. A buildup of grease, food particles, or residue can cause uneven cooking, unpleasant odors, and even damage to heating elements over time. Here are some practical steps for cleaning your Vulcan oven’s interior:
Daily Cleaning
- Step 1: Turn off and cool down
Always ensure that your oven is turned off and completely cooled down before cleaning to avoid injury or damage. - Step 2: Remove racks and trays
Take out any racks, trays, or accessories inside the oven. These can be cleaned separately, making it easier to access all areas of the oven’s interior. - Step 3: Wipe down surfaces
Using a damp cloth and mild dish soap or a non-abrasive cleaner, wipe down the oven’s walls, floor, and ceiling. Focus on areas that tend to accumulate grease or food splatter. - Step 4: Clean door glass
The glass on the oven door can collect grease and food residue, affecting visibility and efficiency. Use a glass cleaner or a mixture of vinegar and water to clean the glass, wiping gently to avoid scratching.
Weekly Deep Cleaning
- Step 1: Remove and clean the racks
Soak the oven racks in warm, soapy water for about 30 minutes. After soaking, scrub them with a soft brush to remove any grease or food buildup. Rinse thoroughly and dry before returning them to the oven. - Step 2: Clean the oven’s interior surfaces
For deeper cleaning, use an oven cleaner that is safe for your Vulcan model (always check the manufacturer’s guidelines for recommended products). Apply the cleaner to the oven’s interior surfaces and allow it to sit for the recommended time.- Tip: If you prefer a natural cleaner, a paste made of baking soda and water works well for removing stubborn grime. Apply the paste, let it sit for an hour, and then scrub with a soft sponge or cloth.
- Step 3: Scrub the walls and floor
Using a non-abrasive sponge, scrub the walls and floor of the oven, paying attention to areas with heavy grease or burnt food. Avoid using abrasive pads that could scratch the oven’s surfaces.
Monthly or As-Needed Cleaning
- Step 1: Clean the oven door seals
Gaskets and seals around the oven door can collect grease and food particles. Use a damp cloth to wipe them down and remove any buildup. Avoid using harsh chemicals that can damage the seal material. If the seal appears cracked or damaged, replace it to maintain the oven’s heat efficiency. - Step 2: Clean the oven’s self-cleaning feature
If your Vulcan oven has a self-cleaning feature, use it once a month (or as needed) to help keep the oven interior in top condition. Follow the manufacturer’s instructions for using the self-cleaning function and allow the oven to cool before wiping down any remaining debris after the cycle.
Additional Tips
- Avoid excessive use of harsh chemicals
While oven cleaners are effective, it’s best to avoid using them too frequently as they can leave strong odors and potentially harm the oven’s finish. Always follow up with a damp cloth to remove any cleaner residue. - Use the right cleaning tools
Use non-abrasive sponges or cloths to avoid scratching the oven’s surfaces, and never use steel wool or harsh scouring pads. A soft-bristle brush can also help reach tough spots without damaging the oven.
Regular cleaning not only ensures your Vulcan oven works at its best but also prevents the accumulation of grease and food that could pose a fire risk. By incorporating these practical cleaning steps into your routine, you’ll keep your oven in excellent condition for years to come.


